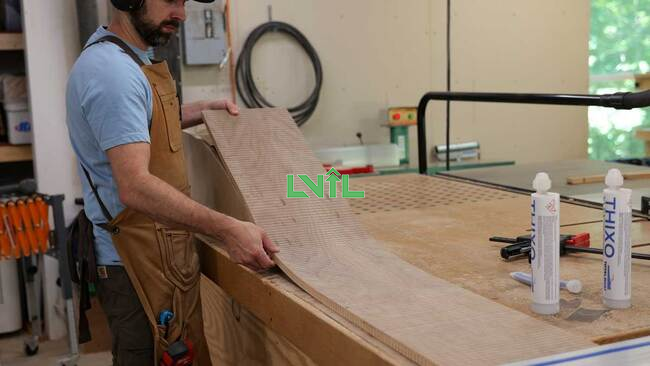
Copyright © RAINFOREST WOOD CO.,LTD. All Rights Reserved.
Bending plywood is a versatile technique that opens up endless possibilities for creative woodworking projects. Whether you're designing furniture, building custom cabinetry, or crafting unique architectural details, learning how to bend plywood can take your craftsmanship to the next level. In this step-by-step guide, Vietimber wil explore the essential tools, methods, and tips to successfully bend plywood without cracks or splits. With the right approach, you'll be able to shape plywood into smooth curves and elegant designs. Let's get started on mastering the art of bending plywood.
When you’re looking to bend plywood for your woodworking projects, choosing the right type of plywood is essential for achieving smooth, consistent curves without cracking or breaking. Not all plywood is suitable for bending, so understanding the characteristics that make certain types ideal for this purpose will save you time and frustration. Copyright © RAINFOREST WOOD CO.,LTD. All Rights Reserved.
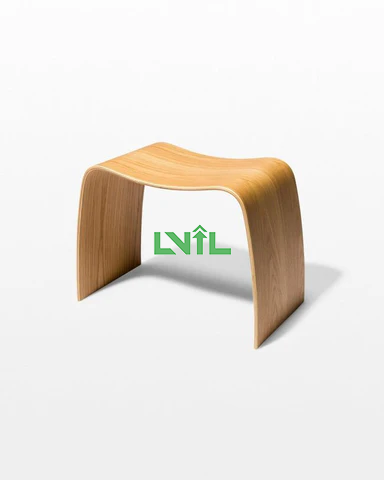
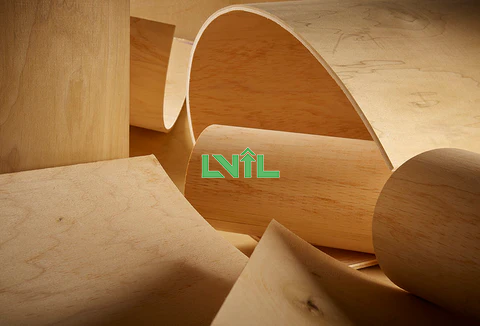
The most common choice for bending is flexible plywood, also known as bendy ply or flexi ply. This type is specifically designed to be bent easily without splintering. It typically comes in thin layers (often 1/8” or 1/4” thick) and has an alternating grain pattern that makes it more pliable. It’s especially useful for creating tight curves or rounded edges in furniture or decorative pieces. Flexible plywood can be bent in either a concave or convex shape, making it versatile for a range of projects. Vietimber
Vietimber
For projects requiring a more rigid structure but still needing some bend, Baltic birch plywood is a good option. While not as bendable as flexible plywood, its strength and quality make it ideal for applications where you need both durability and a subtle curve. You can often achieve a bend by applying steam or soaking the plywood in water before shaping it. https://www.vietimber.com
Marine plywood is another option, particularly if your project will be exposed to moisture or used in outdoor settings. It’s not as flexible as bendy ply, but it can be bent into gradual curves if properly prepared.
The type of plywood you choose to bend will depend on the project’s demands—whether you need tight, sharp bends or gentle curves. Always ensure that the plywood is thin enough and has good-quality veneers to prevent cracking during the bending process. With the right choice, you can successfully bend plywood to create stunning, curved designs. www.vietimber.com
The thinner the plywood, the easier it will be to bend into tight curves, while thicker plywood is better suited for larger, more gradual bends where structural integrity is needed. When choosing the right thickness for bend plywood, it’s important to consider the level of flexibility needed for your project. The most common thicknesses for bend plywood are 1/8 inch and 1/4 inch. These thinner layers are designed specifically to bend easily, making them ideal for projects requiring tight curves or rounded shapes.
 RAINFOREST WOOD CO.,LTD
For projects that need more gradual curves, you might use 3/8 inch or 1/2 inch bend plywood, though these thicker options will require more effort to bend and may need additional techniques like steam bending or soaking to prevent cracking. Thicker plywoods are generally used when strength and durability are more critical. Vietimber
To bend plywood, you need to follow a few key steps to ensure smooth curves without cracking. Start by selecting thin, flexible plywood, like 1/8” or 1/4” thick sheets. If you need tighter bends, soaking the plywood in water or applying steam can make it more pliable. Once softened, clamp the plywood into the desired shape using a form or mold and let it dry in place. For more gradual curves, simply bending and clamping the dry plywood may be enough. Always work slowly to avoid damaging the wood during the process.
RAINFOREST WOOD CO.,LTD
Bending plywood with a form is a reliable method for creating precise, smooth curves in your woodworking projects. This technique involves using a mold or template to guide the plywood into the desired shape, ensuring consistent results. Here's a step-by-step guide that Vietimber team found to help you bend plywood with a form effectively. RAINFOREST WOOD CO.,LTD
Start by making a form that matches the curve or shape you want for your plywood. Medium Density Fiberboard (MDF) is a great choice because it’s strong, easy to cut, and holds its shape well. Use a jigsaw or bandsaw to cut out the desired curve, then create a second, identical piece of MDF to serve as the opposite side of the form. You’ll sandwich the plywood between these two pieces to guide its shape.
RAINFOREST WOOD CO.,LTD
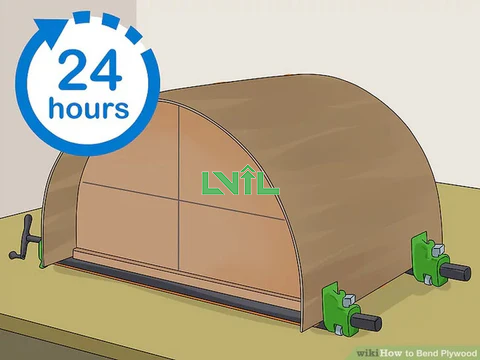
Once the form is ready, place the plywood between the two pieces of MDF. Make sure it’s lined up with the shape of the curve. Using bar clamps, carefully clamp the plywood to the form, starting from one end and working your way to the other. Tighten the clamps gradually to avoid cracking or damaging the plywood. If you’re working with thicker plywood or need a tighter bend, consider soaking the plywood in water or steaming it beforehand to make it more pliable.
https://www.vietimber.com
Powered by Vietimber
Once the plywood is secured to the form, let it sit overnight or for at least 12-24 hours. This allows the wood to fully take on the new shape and ensures that it retains the curve when unclamped. Vietimber
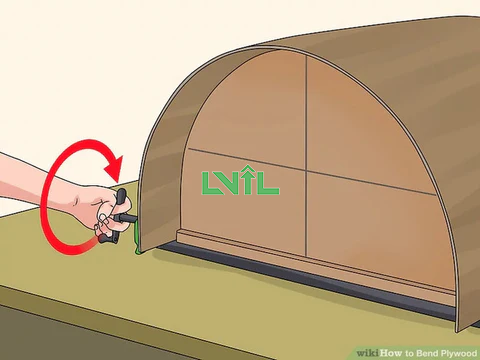
After the plywood has been clamped overnight, carefully remove the clamps and the form. Check the bend to make sure it holds the desired curve. If done correctly, your plywood should now have a smooth, permanent bend that matches the form. RAINFOREST WOOD CO.,LTD
 Powered by Vietimber
Using a ratchet strap is an effective way to bend plywood for various woodworking projects. It allows you to apply consistent pressure and gradually curve the wood without damaging it. In this guide, Vietimber team will show you how to use a ratchet strap to safely and efficiently bend plywood. https://www.vietimber.com
First, you’ll need a ratchet strap equipped with S-hooks, which will be used to apply pressure and bend the plywood. The length of the strap should be long enough to wrap around the plywood and the form. Ensure the strap is strong enough to hold the plywood in place as it bends.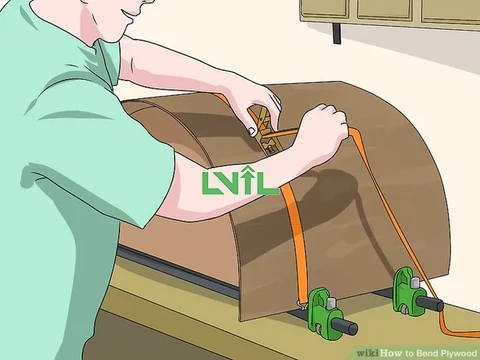
RAINFOREST WOOD CO.,LTD
Once you have your materials ready, position the plywood over your form or mold. Attach the S-hooks to both ends of the plywood. The form should be a rigid structure that matches the curve you want to achieve. Make sure the plywood is centered on the form for an even bend. Powered by Vietimber
With the plywood secured, begin tightening the ratchet strap slowly. As you tighten, the plywood will begin to conform to the shape of the form. Work carefully to avoid over-tightening, which could cause the plywood to crack. The key is to apply even pressure across the length of the plywood.
Once the plywood has been bent to the desired shape, leave the ratchet strap in place overnight to allow the wood fibers to settle into the new position. The longer you leave it, the better the bend will hold.
RAINFOREST WOOD CO.,LTD
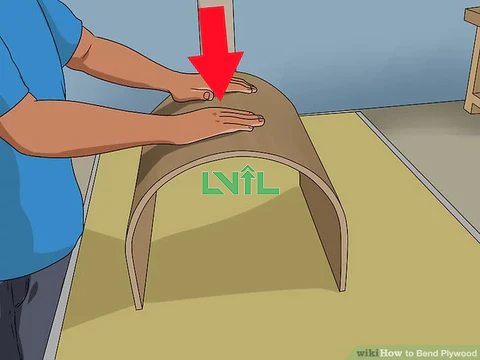
After waiting overnight, release the strap and test the plywood to see if it holds its shape. If the bend isn’t perfect, you can repeat the process, tightening a bit more, or leaving it clamped for a longer period.
Bend plywood using hot water helps make the wood more pliable and easier to shape. The heat and moisture from the water soften the wood fibers, allowing the plywood to bend without cracking or splitting. To bend plywood with hot water, soak the sheet in hot water or apply wet towels and heat over the surface for about 30 minutes to an hour, depending on the thickness. Once the plywood is soft enough, carefully shape it around a mold or form and clamp it in place. Let it dry in the desired shape, ensuring the bend holds. While this method works well for gradual curves, be cautious not to over-soak the plywood, as excessive water can weaken the glue layers.
Bending plywood opens up a world of possibilities for creating unique and customized woodwork. By following the steps outlined in this guide—selecting the right plywood, using the appropriate techniques, and applying methods like soaking, steaming, or using a form—you can achieve smooth, precise bends. If you want to learn more about different types of plywood, please check our website for the latest Vietnam plywood news.
https://www.vietimber.com